
Information on Installing Our Products
Every crawl space is different, and because of that we can only extend advice on this website for common problems and questions regarding creating a Conditioned Crawl Space.
If you have questions that have not been answered through our website, please reach out to use by email, phone or by visiting our Contact Us page.
Preparing for Your Project
As with any job, preparation is a huge factor in determining the quality of the final product. A crawl space encapsulation installation is no different. A crawl space is most likely going to be an unpleasant, uncomfortable, and difficult place to be working for a few days, but if you commit to seeing it through, you will be happily rewarded by not needing to go back down inside there again, unless home maintenance requires you to do so.
Remember that the primary objective when conditioning your crawl space is to only do it once and do it right. To begin, everyone working in the crawl space will need a good set of coveralls. All sharp and organic (wood, paper, etc.) objects need to be removed from the crawl space. If there is old plastic sheeting down there, it can remain, and installation can be done over it, but everything else must be removed. The old school of thought taught us to put fiberglass insulation in the floor joist cavity to keep the house warm; today, however, with a conditioned crawl space, this practice is no longer endorsed. The primary reason is that in a non-conditioned crawl space, moisture gets trapped inside the insulation, making it heavy, resulting in it coming loose and falling out of place. The moisture trapped in the insulation also creates the perfect conditions for mold growth.
The only places where insulation is needed are around the perimeter rim joists and/or on the foundation walls, but put a pin in this; it will be explained in more detail a little later. As you are in the crawl space clearing things out, you need to take a look at and assess the structure, joists, and beams to make sure they are in good shape. As you are making those assessments, we advise everyone to also take this time to sweep over the joists and subflooring with a broom to remove old spider webs/nests and any loose dust or dirt in these areas. While doing this, it is also very important to brush off the blocks at the top of the foundation walls so that the Foundation Seal Tape™ will adhere to the walls properly when applied.
Dry Crawl Spaces vs. Wet Crawl Spaces
While dry crawl spaces offer fewer obstacles than wet ones, dry crawl spaces have their issues as well. Most of the time, the dirt is really hard and uncomfortable to move around on. In addition, the dust levels are going to be quite high, which is why a good respirator (not a dust mask) is required. Without it, you will probably be coughing up dirt for a week, which, for obvious reasons, is not good for your health.
Our customers report to us regularly that there is no water in their crawl space and never has been. The problem with this information is that often these homeowners only look into their crawl spaces once or twice a year, and there's a lot that can happen in a few months; that includes water coming and going. It is not uncommon for crawl spaces to be dry most of the time, but in the rainy season, they could be under up to 12 inches of water. Therefore, we shouldn’t think that just because there is no water present at one point, there never has been any water present in the area.
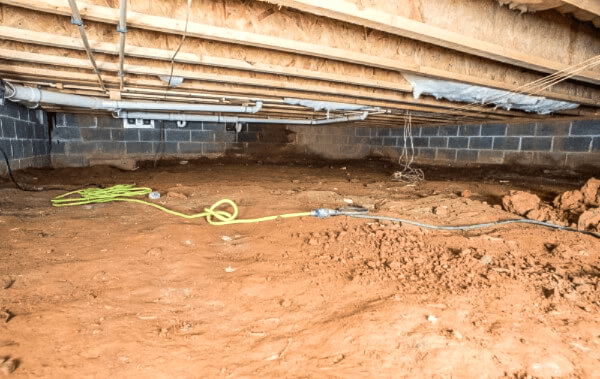
There are some signs you can look for to detect if there is a water problem. Look at the walls (usually at the bottom) for a white powder; it looks like salt. This powder is lime that is used in the making of the blocks. If you see this, then you have some degree of water problems. Look to other signs like water stains, wet blocks, or areas in the crawl space that are muddy. The bottom line is this: it will be easier and cheaper to install a sump kit (and drain tile if needed) first, than to have to go back and do it after your crawl space floods. If it helps in the decision-making process, think of a sump as a drain in case a water line breaks or your washer overflows.
Installing a Drain System
If you determine that you do need or want a sump pump, there are a few things to consider. The first thing to consider is where the lowest point in the crawl space is, and, second, where is the water going to go once it leaves the crawl space? Most often water that gets into the crawl space comes from poor drainage or poor grade. If you discharge the sump where the grade slopes back toward the house, then the water will just come back in. This is known as “cycling the water," and it is only good for the electric company.
If your problem is poor drainage, then you may want to consult with a local water management company. If there is a lot of water present, you will want to bury some drain tile (tubing) on the inside of the crawl space around the foundation walls.
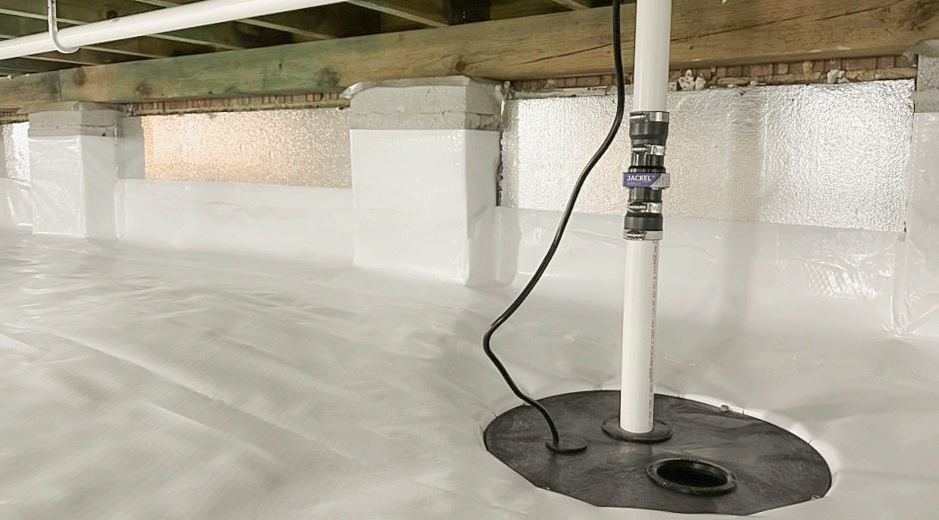
When it comes to installing drain tile, the question often asked is, “Do you slope the tile down towards the sump?” The answer is always no! Water finds its own level; water is one of our tools for telling us what level it is. If the tile is installed level, or very close to it, the water will drain into the sump. If you dig the drain tile on a slope, you will be too deep by the time you get to the sump to tie it in properly. When you install the sump basin, dig the hole about 8” wider than the basin and set the basin with pea stone around it. This will keep the dirt out of the basin and save your pump from burning out.
The drain tile may need stone as well if the dirt is sandy or topsoil-like. Some people use tile with a sock on it. This is a good option, though the pea stone does work much better. On a final note, sump installers should plan to install a dedicated outlet for the sump. If you are handy and feel comfortable doing this, then doing so will save some money, but if you do not know what a dedicated outlet is, then you should plan on calling an electrician. Have him come out after the SilverBack® is in; he will probably charge you less.
Choosing a Vapor Barrier Thickness
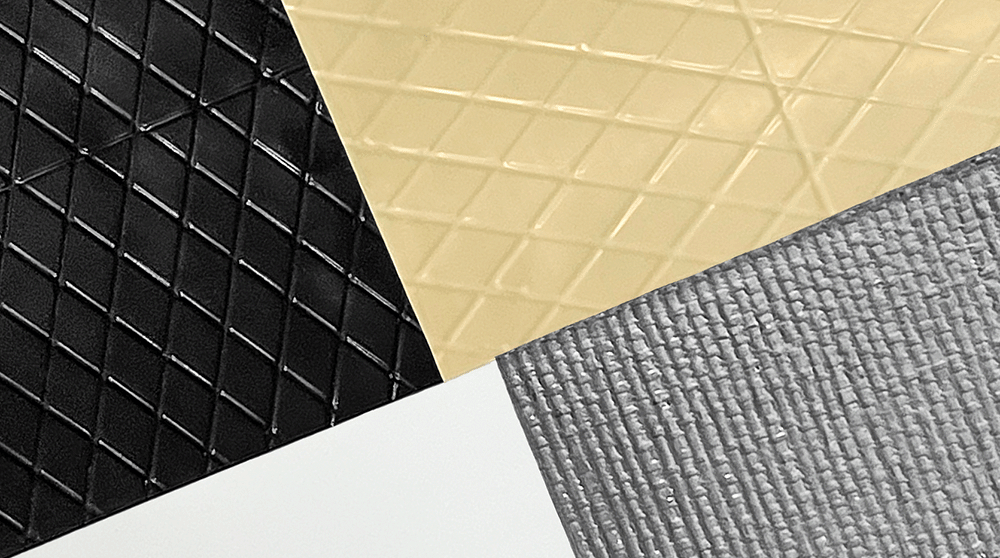
Bigger is better, right? Well, not always. We offer several different thicknesses of crawl space vapor barriers to accommodate different needs. 12 mil crawl space liners are popular because they are not the thinnest, and yet they are also not the thickest. The 20 mil vapor barriers are recommended if you have the space and ability and would like to store items in the crawl space. It is much more durable and capable of handling the activity of bringing in and moving boxes and totes around.
It really all comes down to your budget and the plans you have for the crawl space after it is encapsulated. If you never go down there and don’t ever really plan to, except for home maintenance, then the 12 mil vapor barrier will get the job done. On the other hand, if you simply do not know what the plans are for the crawl space or you just feel more comfortable with a thicker product, you’ll want to look at 20 mil crawl space liners. Ultimately, you cannot go wrong with any of our products because they are all top of the line and of the highest quality.

To install this Web App in your ISO device press and then Add to Home Screen.